Common Problems Found During a Home Inspection

Perhaps for some, there’s nothing more nerve-wracking than the thought of finally owning a home. Of course, it’s for all the good reasons. Home buying can hype you up with a roller coaster of emotions. After years of saving up for down payment and other mortgage fees, you’re a step closer to finally having a place to call your own. Whether you’re buying a newly built modern home or a fixer-upper that was built in the 60s, the truth behind walls is paramount. What’s the best way to get the lowdown of your potential home?


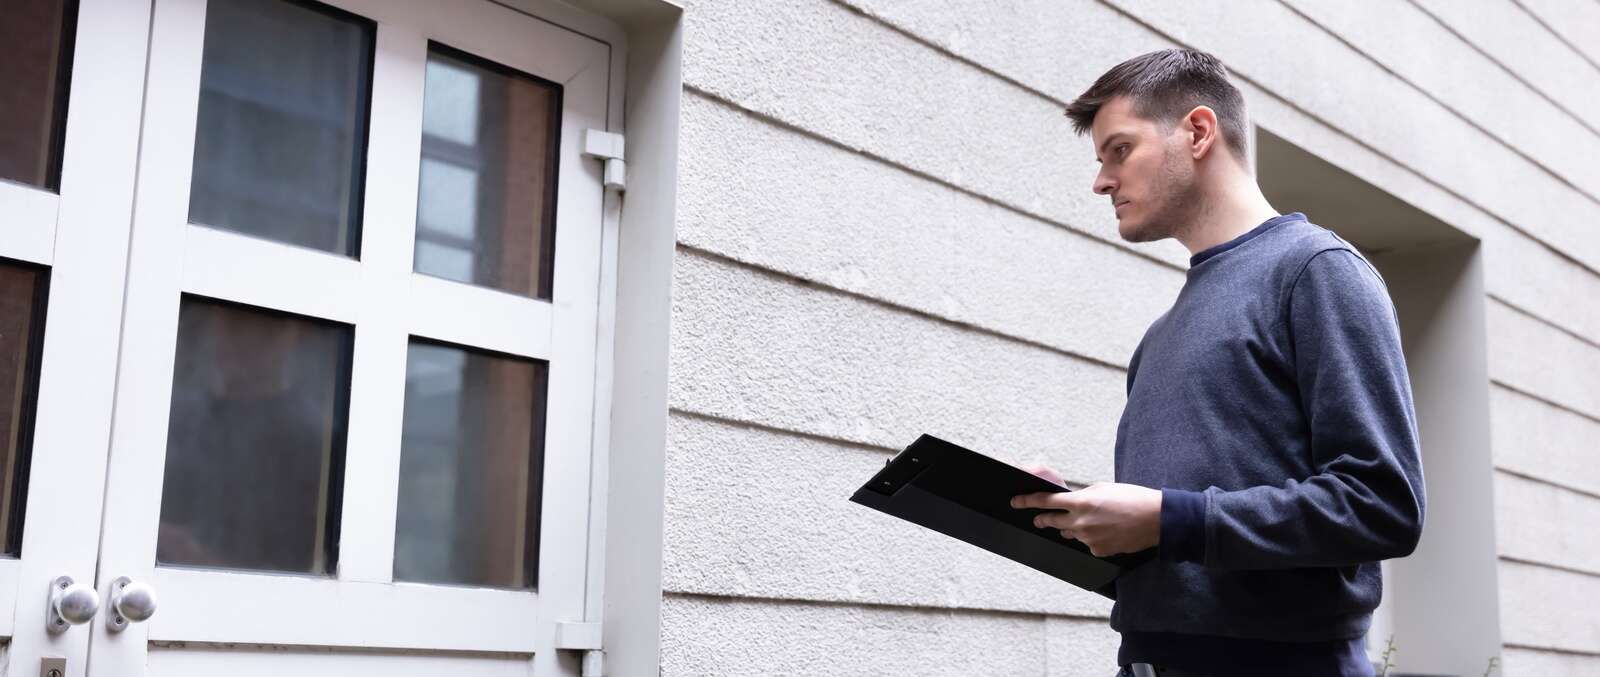
A home inspection. Because the truth is, a home inspection will discover things even the seller didn’t know existed. For sure, you wouldn’t want to move into a premise of issues and defects.

In fact, we’ve compiled some of the problems commonly found during a home inspection. We want to arm you with proper information to help you evaluate your potential purchase.


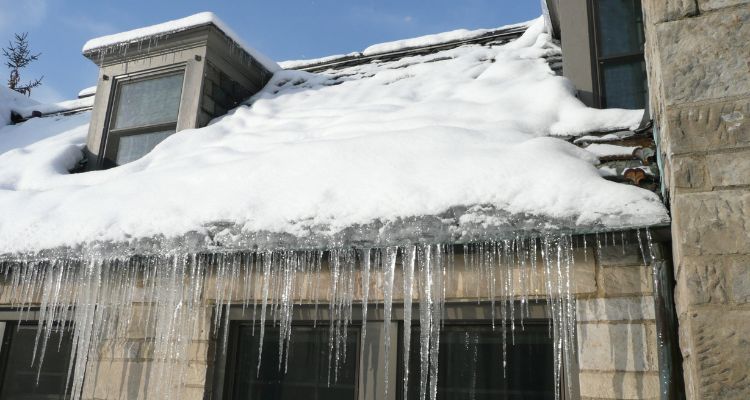
1. Water problems. Water is on top of the list for so many reasons.

Grade sloping is were draining is towards the home instead of away from the home. This could lead to a damp basement or crawl space and ultimately cause foundation problems. Apart from that, it could rot the walls, and eventually make room for mold buildup and growth. Some indications of foundation movement include doors that have uneven gaps at the top when closed or even floors that are visibly out of level. If not taken care of right away, the problems can add up quickly just as the repair costs would.


2. Roofing problem.

After years of keeping the entire house dry, the roof material ages and succumb to water intrusion. This often leads to expensive repairs and replacement.


3. Style vs the materials used.

A combination of styles and look makes a cool, contemporary house with a hint of the olden days. However, if you plan to buy a home, it’s best to look for consistency in terms of architectural style and building materials being used. Sometimes, unauthorized modification can bring about costly repairs in the end.


4. Faulty wiring.

Unfortunately, while modern homes have an ample supply of power and electrical outlets, old homes do not. It’s not uncommon to see extension cords running between rooms. Problem is, this is considered a fire hazard as it places a burden on the electrical system, outlets, and cords. Another common problem found in all ages of a home is exposed the wiring. Any exposed electrical wire should be considered a top priority and must be corrected by a licensed electrician.


5. The year the house was built also offers a handful of issues when it comes to potentially hazardous components.

The 1900s to 50s: Knob and tube wiring consists of fuse and fuse boxes. Unfortunately, these components are already considered outdated and risky to cover modern-day loads.


1942 to 1958: What’s popular during these years is the Orangeburg sewer piping. This piping line is made out of papier-mache out of necessity during World War II. If the pipes of the home you plan to buy with Orangeburg piping have not failed yet, you’re in luck. But it doesn’t mean it won’t.


1984 to 1990: ABS piping made out of recycled plastic tends to crack within glue joints and would be extremely costly to replace.


1990 to 2000: A thorough home inspection can help detect a NOX Rod consolidated furnace.

To sum it up, some of the most common problems found during a home inspection are moisture, toxic mold, drainage, piping materials, plumbing defects, and faulty electrical wiring.

By Amy Newcomer October 30, 2025
For many first-time buyers, skipping a home inspection might seem like a way to save time or money. However, an inspection is one of the most important steps in protecting both your new home and your finances. Inspectors Spot the Costly Problems Home inspectors aren’t just concerned with minor details. Their primary job is to identify big issues that could cost you thousands down the road. From water damage and foundation cracks to other structural concerns, an inspection helps uncover problems you might otherwise miss. By investing in a professional inspection, you protect yourself from unexpected repair costs and gain peace of mind. After closing, you’ll be able to enjoy your new home knowing your investment is secure.
By Amy Newcomer October 28, 2025
By Amy Newcomer October 24, 2025
A cracked heat exchanger is never ideal, but it may not always be as dangerous as it sounds at first. If your furnace’s heat exchanger is damaged, replacement is necessary. The biggest concern with cracks is that they can allow carbon monoxide to leak into your home — and if that’s happening, the furnace should be shut down and replaced immediately. That said, not every crack automatically leads to hazardous gas leaks. Still, the safest approach is to be proactive: Schedule routine furnace inspections. Install an affordable carbon monoxide detector. Watch for warning signs such as corrosion, visible cracks, unusual odors, soot, or water pooling near the furnace. If you notice any of these signs, stop using your furnace right away and contact an HVAC professional. They can thoroughly inspect the system and confirm whether replacement is needed.
By Amy Newcomer October 22, 2025
By Amy Newcomer October 20, 2025
If you live in an area where winter temperatures drop below freezing, it’s important to protect your outdoor water faucets by draining them completely. Even if you have frost-free faucets, it's still wise to take a few minutes to drain them to ensure proper function. When water freezes, it expands by about 9%. This expansion can exert over 100,000 psi of force, which can easily rupture your faucet or pipes and potentially cause flooding inside your home. Steps to Drain Your Outdoor Water Faucets: Close the Inside Valve: Locate the valve inside your home that controls the water flow to your outdoor faucet. This valve is usually positioned closest to the wall where the pipe exits your home. Drain the Inside Valve: Place a small bucket under the valve. Unscrew the small drain plug on the side of this valve to allow any trapped water to drain out. Disconnect the Garden Hose: Remove any garden hose attached to the outdoor faucet. Open the Outdoor Valve: Open the outdoor faucet to let any remaining water drain out. Once drained, close the outdoor faucet. Replace the Drain Plug: Reattach the drain plug on the inside valve. After winter, to use your outdoor faucet again, simply reopen the inside valve. Before doing so, ensure that the outdoor faucet is closed to avoid any potential leaks or flooding. Additional Considerations: Uncover the Inside Valve: Make sure the inside valve is not covered by boxes, blankets, or other items. Covering this valve can insulate it and prevent warm air from circulating, which can lead to freezing and potential damage. Frost-Free Faucets: Many modern homes are equipped with frost-free faucets designed to prevent freezing. These faucets are typically a foot long and have a mechanism that keeps the valve beyond the wall, away from the cold. However, if these faucets are not installed correctly, they can still freeze. Therefore, it's still a good idea to drain them as a precaution. Insulated Covers: While insulated covers can help retain some warmth, they should not replace the draining process. In extremely cold conditions or when the faucet is exposed to strong winds, insulated covers alone may not be sufficient. Garden Hose Removal: Always disconnect your garden hose from the outdoor faucet. Water left in the hose can freeze and expand, potentially causing damage. If you need to leave the hose outside, ensure it is fully drained or use a compressor to remove all water. Summary By following these simple steps to drain your outdoor water faucets, you can avoid the risk of freezing and potential flooding during the winter months.
By Amy Newcomer October 16, 2025
During a home inspection, professionals have their own standard lists of items to check. However, creating your own checklist ensures the inspector covers the areas that matter most to you and provides the information you need before purchasing a home. Making a personalized checklist offers two key benefits: It sets clear expectations, helping you choose the right inspector when comparing candidates. It alerts the inspector to any special tools they may need in advance. For example, a camera is essential for a proper chimney inspection. By sharing your checklist ahead of time, you make the inspection process more efficient and thorough, giving you peace of mind about your potential new home.
By Amy Newcomer October 14, 2025
By Amy Newcomer October 10, 2025
Updating your home’s electrical features doesn’t have to be costly. Installing dimmer switches is a simple upgrade that gives you personalized control over your lighting while helping reduce your energy bills. Lower Energy Costs With a dimmer switch, you can easily adjust the brightness of compatible light fixtures and bulbs. Using only the amount of light you need not only saves energy but can also lead to noticeable monthly savings. Customized Comfort Dimmer switches let you create the perfect lighting for any situation. Enjoy a theater-like atmosphere in your living room, or set softer bedside lighting for late-night reading without disturbing others. A small change like adding dimmer switches can make a big difference in comfort, energy savings, and the overall feel of your home.
By Amy Newcomer October 8, 2025
Cleaning your drains is a quick and easy home maintenance task that doesn’t require special skills or expensive products. In fact, harsh chemical drain cleaners can sometimes miss the real blockage and even wear down your pipes over time. A drain snake is a safer and more effective alternative. All it takes is a few seconds to insert the barbed drain snake into the pipe, twist it around, and pull out the clog. A couple of repeats will remove hair, soap scum, and other debris. Once finished, run water through the drain to confirm it flows freely. With just a few dollars and minimal effort, you can keep your drains working smoothly and avoid bigger plumbing issues down the line.
By Amy Newcomer October 6, 2025